How to keep your kitchen clean in just 10 minutes a day
Tips on the best DIY kitchens for your home from DIY Homefit
Are you one of the many people who always seems to have to spend precious time around Christmas deep cleaning your kitchen? Not the most fun job in the world . . . . and what a waste of time when it’s supposed to be the season to be merry!
Unfortunately, kitchens can get messy and dirty very quickly, and you really don’t want your kitchen to let you down at Christmas. However, you’re probably also thinking that there must be a better way to do this so that you don’t always end up having to clean your kitchen at the busiest time of year.
How about if we told you that it’s possible to keep your kitchen spotlessly clean in just 10 minutes a day. Yes really! With a little bit of ongoing effort every day, those days of last minute kitchen wars will be a thing of the past.
In this article we explain:
- Ten daily rules for kitchen users.
- Ten 10 minute tasks to keep your kitchen clean.
Ten daily rules for kitchen users
Keeping your kitchen clean is made much easier if everyone using it understands what you expect from them. Easier said than done, we know! But if you can succeed in getting everyone on board, you are well on the way to the clean kitchen you are longing for.
We suggest you aim to train your family to stick to these ten daily rules:
- Put crockery, cutlery and cooking items in the dishwasher as soon as they are finished with.
- If the dishwasher is full, set it running.
- If the dishwasher has finished its run, empty it and put items away.
- If there are dried dishes on the draining rack, put them away.
- Spray and wipe kitchen hobs and worktops after use.
- If there is a spill on a worktop, hob or floor, wipe it up straightaway.
- Check the sink after use, remove any debris, rinse it out and spray / bleach / shine as needed.
- Use a dustpan and brush and/or floor wipe for a quick spruce up of a messy area of floor.
- Put all rubbish into the appropriate kitchen bin rather than leaving it on a worktop.
- If a kitchen bin is full, empty it into the outside dustbin rather than stuffing more rubbish in.
This can sometimes be easier to achieve if everyone has a sense of ownership of your kitchen. If your kitchen is exactly the same as it was when you moved into your home, it is often taken for granted, and no-one really cares too much if it’s not looking its best. But if you have had your kitchen replaced while you have been in your home, and particularly if any aspect of it has been a DIY kitchen, there is already more of an emotional attachment to it.
So if you are struggling to get the family to buy in to the daily rules, a handy tip may be to plan a few small alterations to your kitchen to get everyone more involved in it, and generate interest in keeping it looking good. For some inspiration, check out our recent article on the Top Five DIY Kitchen improvements in 2024.
Ten 10-minute tasks to keep your kitchen clean
It will take time to get everyone on board with the above rules, but even just reading through the list you can see the difference it could make to your kitchen.
There are then a variety of additional 10-minute tasks that can be done to top up what is already happening and help to make your kitchen spotlessly clean. Here are ten suggestions:
- Declutter
Regular readers will know the importance we place on decluttering, and we make no apology for raising it again. If your kitchen is free from clutter it will always look much better than if worktops are full of items that don’t need to be there. So ten minutes sorting out surface items and either getting rid of them or finding a better place for them will be well worth it.
- Vacuum
Every room looks better when it’s been vacuumed, and the kitchen is no exception here. A quick vacuum round of the floor works wonders. Each time you vacuum make sure to include some other areas that may have been neglected, for example the ceiling, blinds, light fittings, tops of cupboards, behind the fridge etc. It doesn’t matter if you don’t do all these places every vacuum, as long as they are all getting done on a regular basis.
- Clean worktops
Hopefully other kitchen users are now clearing worktops after use, but a good 10-minute clean will help to mop up anything that’s been missed. Take everything off the worktop rather than trying to work round things, then either vacuum or use a brush or cloth to remove all debris before spraying with your favourite kitchen cleaner and giving a good wipe. Ensure the worktop is thoroughly dry before putting items back on it again.
- Clean the floor
If the floor is being regularly vacuumed, and other kitchen users are helping to deal with any excesses, it should be much easier to clean. Whether you use a mop and bucket of water, spray on floor cleaner, or floor wipes is up to you. Just be sure that you are regularly cleaning the whole of the kitchen floor, including under furniture and appliances, and skirting boards. Pay particular attention to areas of heavier footfall, such as around doors. It may be worth putting a mat down in such areas to make things even easier.
- De-limescale the sink, taps and draining board
As well as wiping your sink, taps and draining board after use, it’s important to de-limescale these areas regularly, otherwise limescale will build up and be more difficult to remove. So after an initial clean with kitchen cleaner, spray limescale remover onto vulnerable areas such as the spouts of taps, or sides of the sink. Leave it to absorb for a couple of minutes then wipe off with a damp cloth. Finish off by wiping with a dry cloth or clean tea towel and your sink will sparkle like new.
- De-grease splashbacks
As the name suggests, splashbacks behind hobs and worktops are there to catch splashes, and in the case of your hob, these splashes are often cooking oil. If this is left to build up it can look unsightly and be very difficult to remove.
The best way to de-grease a splashback with hardened cooking oil is to give it an initial clean with either washing up liquid or dish soap and warm water, kitchen cleaner or a mixture of baking soda and water. Leave on as much of the cleaning product as possible to sink in for a few minutes, then give it a gentle scrub (depending on the surface) with, for example, a toothbrush or scouring pad. It may take a few goes to get it completely clean, but bit by bit the grease will lift.
- Clean kitchen cabinet doors
When cleaning your kitchen don’t forget about your kitchen cabinet doors. Whether you have a professionally installed or DIY kitchen, it’s probably true that those cabinets could do with a bit of tlc. Start with a quick dust and – depending on the material your cabinets are made from – follow with a wipe with either warm soapy water, kitchen spray or polish. Your cabinets will then look clean and fresh, and really brighten up your kitchen.
- Clean windows and glass
We all know that feeling when the sun shines in and we realise how filthy our windows are! Even pale winter sun can have this effect. But if you regularly clean your windows you will no longer have anything to be embarrassed about. The way you clean windows is personal preference. Some people prefer a glass cleaner spray and kitchen towel, others prefer to make up a solution of vinegar and water and use a soft cloth to clean them. And there are others who still like the old fashioned shammy leather with soap and water.
Whatever your preference, the key is to clean those windows regularly to keep them in tip top condition; and the same applies for any other glass surfaces in your kitchen.
- Clean one appliance
Many of us just never get around to giving kitchen appliances a good clean. It’s such a daunting task and we simply don’t have time. But if you build appliance cleaning into a regular routine, it becomes much more do-able.
Small appliances can easily be cleaned in ten minutes. Others – such as your fridge, freezer, or oven – will usually take longer but don’t panic. Even if you just tackle part of an appliance in ten minutes it’s better than nothing. For example you could take ten minutes just to declutter your fridge, throw away out of date items and rinse out bottles and jars that are finished with. Then next time spray and clean the shelves and drawers, and the time after that clean the door seal and the outside of the fridge.
- Check for DIY jobs
Last but by no means least is to keep on top of those niggling little DIY jobs that always seem to need doing in kitchens. And whether your kitchen was originally installed professionally or is a DIY kitchen, many of these little jobs can be done quite quickly at home. Whether it’s replacing bulbs or batteries, tightening handles or knobs, shoring up shelves, or touching up paintwork, keeping on top of these little jobs can prevent your kitchen from starting to look tired.
And if your DIY skills are a little lacking, check out our recent article Want to get better at DIY? Here’s How.
If you aim to do just one – or even part of one – of the above tasks every day, rotate them round on a regular basis, and vary them as needed to ensure that everything is covered, your kitchen will soon be looking much better. And by breaking down your kitchen cleaning into short sharp 10-minute chunks, it won’t seem like such a huge undertaking.
You will probably also find that your kitchen becomes easier to clean the more often you do these 10-minute tasks, as the standard of cleanliness will get better and better, and there will gradually be less and less tough work to do.
We hope that this article provides some helpful ideas about how to keep your kitchen looking its best by regular cleaning and getting on top of those little DIY kitchen improvements.
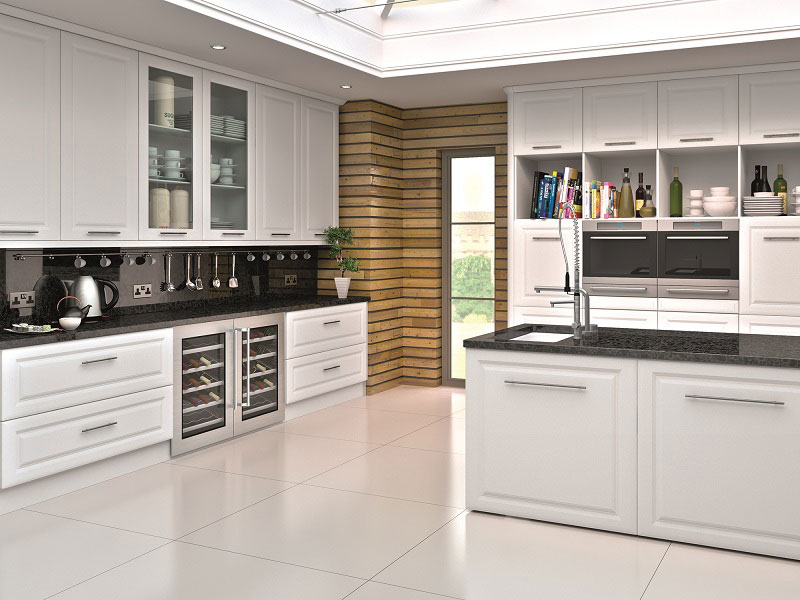
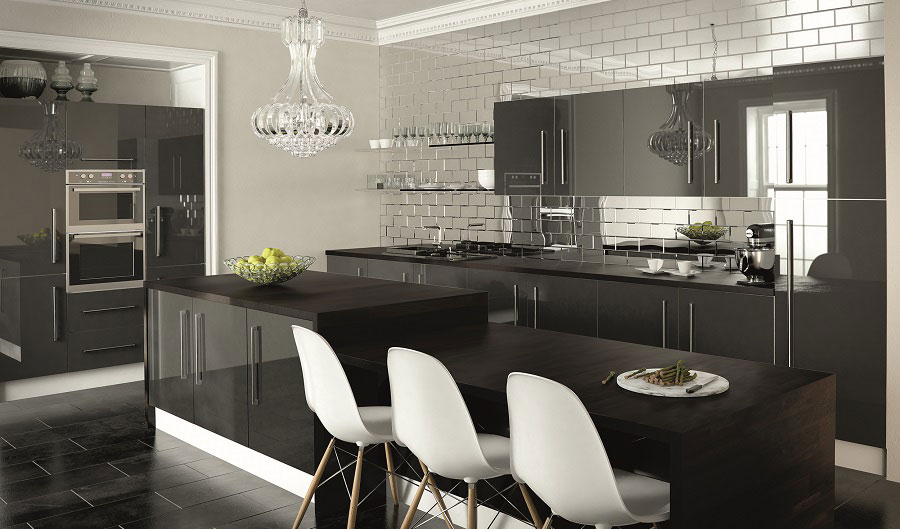
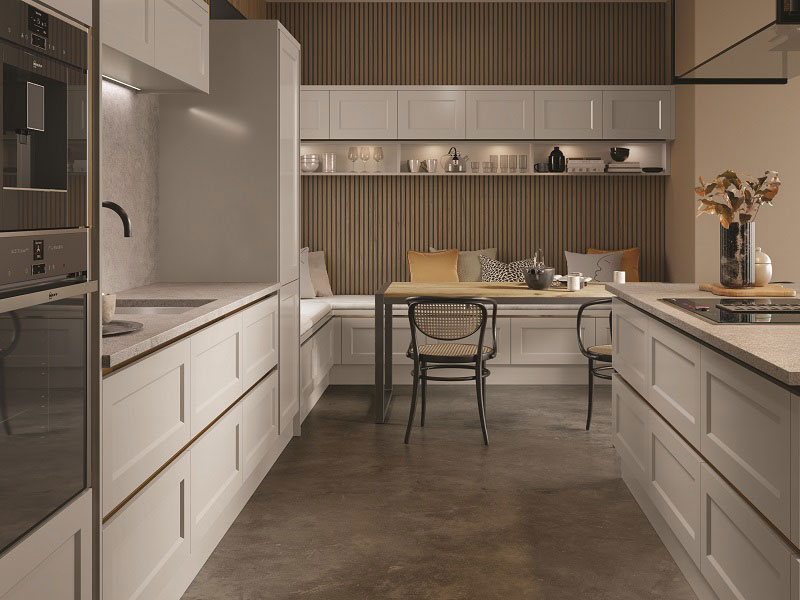
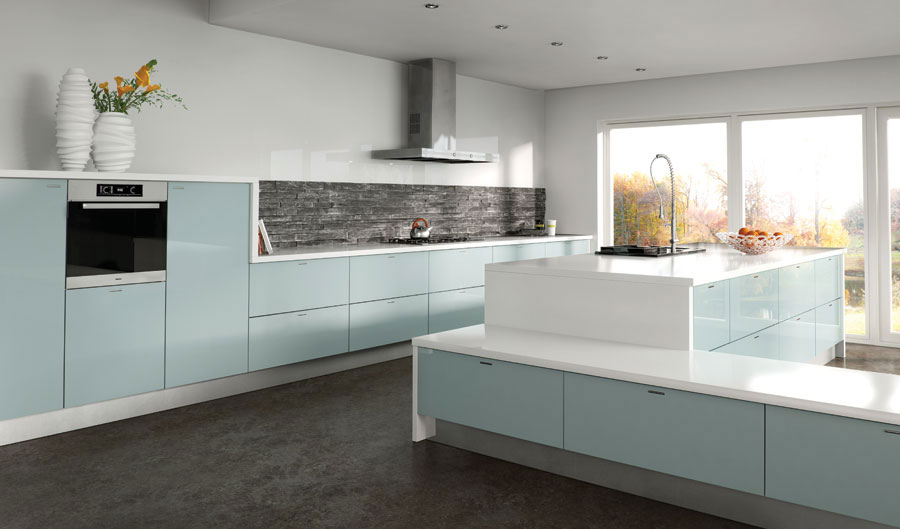
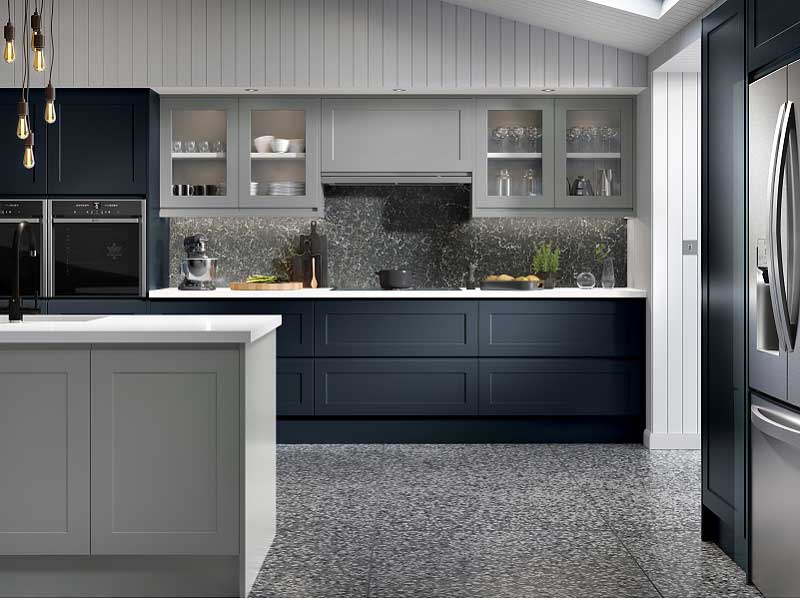
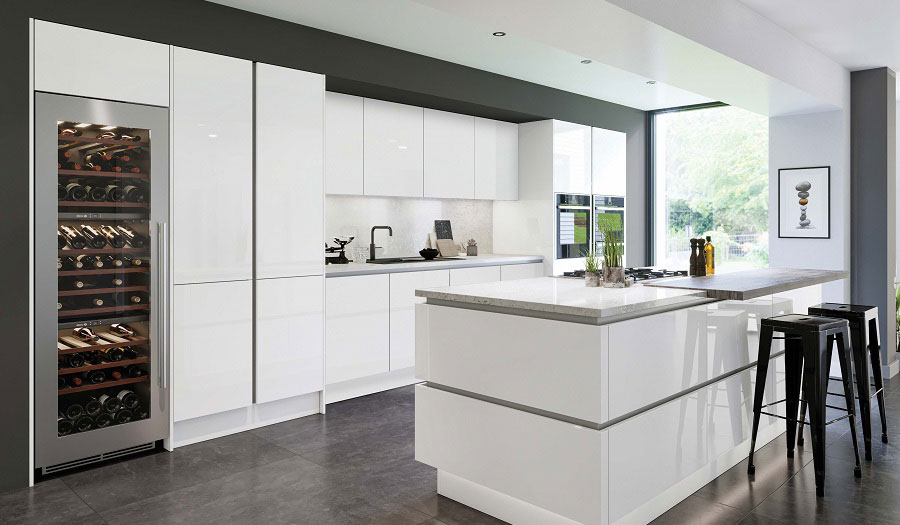
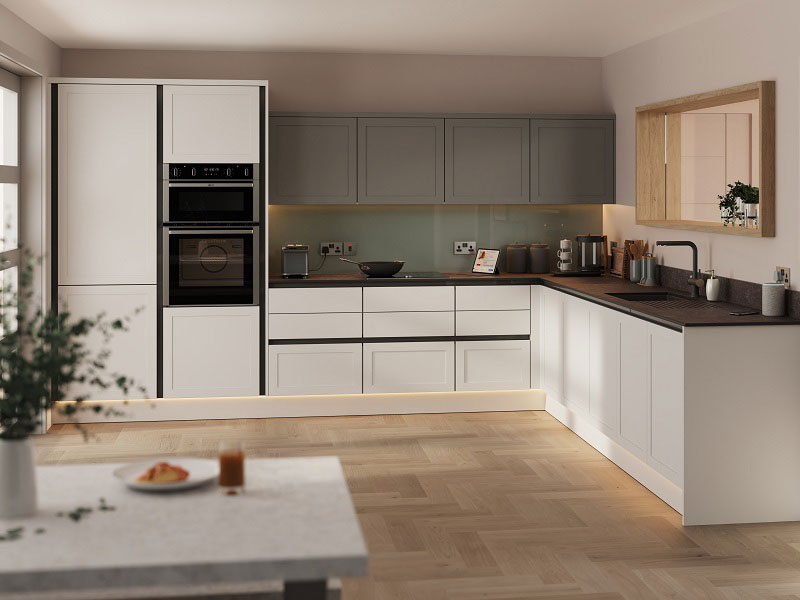
And if you are planning a kitchen update during 2025, why not take a browse through DIY Homefit’s gallery of kitchen pictures to see just how good a DIY Homefit kitchen can look.
And remember to visit us again soon for more home and lifestyle tips from DIY Homefit.